Firearm Finish Restoration Tips: Restoring Old Firearm Finishes - A Guide
- Roland Lamothe
- 4 days ago
- 3 min read

When you own a firearm, especially a vintage or well-used one, the finish can wear down over time. Restoring that finish not only improves the look but also protects the metal from rust and damage. I’ve worked with many firearms and learned that restoring old firearm finishes is a rewarding process that anyone can tackle with the right approach. In this guide, I’ll walk you through practical steps and tips to bring your firearm back to life safely and effectively.
Firearm Finish Restoration Tips: Preparing Your Workspace and Tools
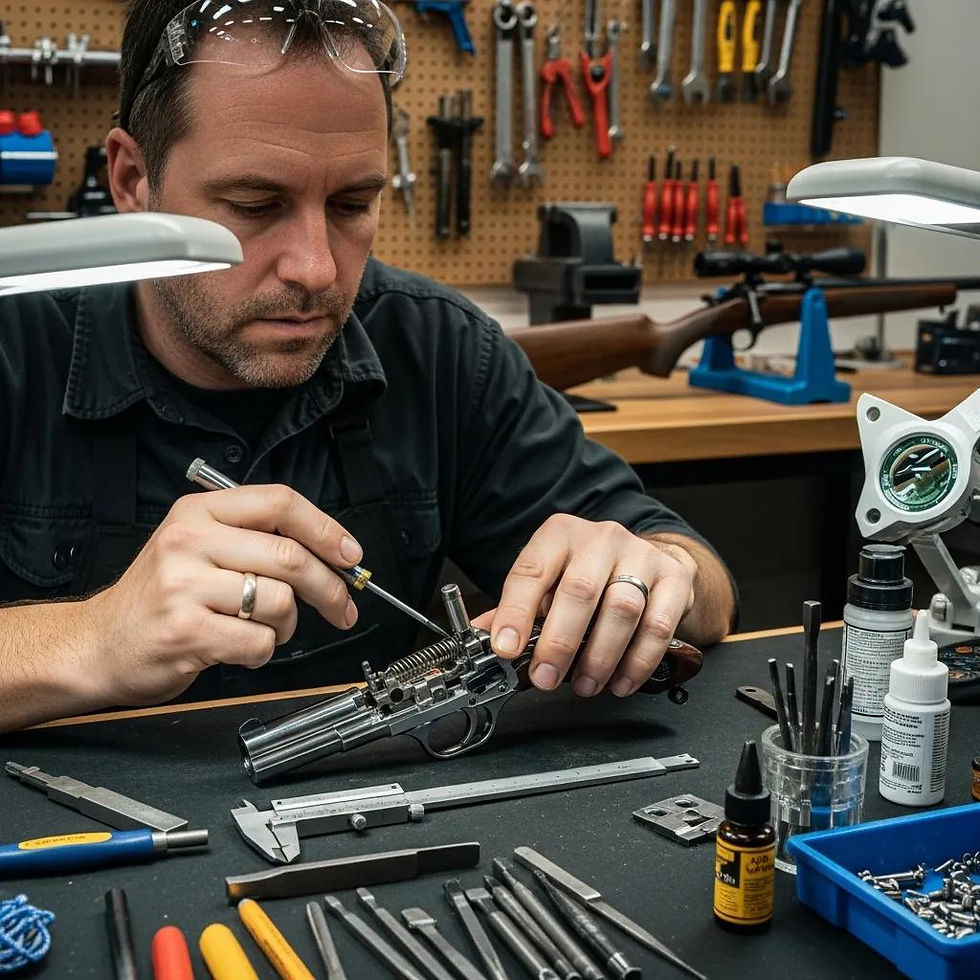
Before you start, preparation is key. You want a clean, well-lit workspace with all the necessary tools at hand. Here’s what you’ll need:
Protective gloves and eyewear: Safety first.
Cleaning supplies: Gun oil, solvent, soft cloths, and brushes.
Fine steel wool or abrasive pads: For gentle surface cleaning.
Bluing solution or finish coating: Depending on the finish you want.
Sandpaper (various grits): For smoothing surfaces.
Rust remover: If rust is present.
Masking tape: To protect areas you don’t want to refinish.
Start by disassembling your firearm according to the manufacturer’s instructions. This makes it easier to work on each part and prevents damage to sensitive components. Clean the firearm thoroughly to remove dirt, grease, and old oils. Use a solvent and a soft brush to get into crevices.

Step-by-Step Guide to Restoring Your Firearm’s Finish
Once your workspace is ready and the firearm is clean, follow these steps:
Remove Rust and Old Finish
Use fine steel wool or a rust remover to gently eliminate rust spots. Be careful not to scratch the metal. If the old finish is peeling or flaking, sand it lightly with fine-grit sandpaper until smooth.
Smooth the Surface
Progressively use finer sandpaper to smooth the metal surface. This step is crucial for a uniform finish. Wipe the surface clean after sanding.
Apply the Finish
Depending on your choice, apply a bluing solution or a modern finish like Cerakote. Follow the product instructions carefully. For bluing, multiple thin coats usually work best. Allow each coat to dry fully before applying the next.
Protect and Oil
After the finish has cured, apply a thin layer of gun oil to protect the metal. This also enhances the shine and prevents rust.
Reassemble and Inspect
Put your firearm back together and check for any missed spots or uneven areas. A well-restored finish should look smooth and consistent.
Remember, patience is important. Rushing can lead to uneven finishes or damage.
Is Bluing or Cerakote Better?
Choosing between bluing and Cerakote depends on your goals and the firearm’s use.
Bluing is a traditional finish that offers moderate rust resistance and a classic look. It’s ideal for collectors or those who want to maintain the firearm’s original appearance. Bluing requires regular maintenance and is less durable against scratches.
Cerakote is a modern ceramic-based coating that provides superior protection against corrosion, wear, and chemicals. It comes in various colors and finishes, allowing customization. Cerakote is excellent for firearms used in harsh environments or for tactical purposes.
If you want a finish that lasts longer and offers more protection, Cerakote is the better choice. For authenticity and tradition, bluing remains popular.

Tips for Maintaining Your Restored Firearm Finish
Restoring your firearm’s finish is just the beginning. Proper maintenance will keep it looking great and functioning well.
Regular Cleaning: After each use, clean your firearm to remove residue and moisture.
Apply Oil: Use gun oil on metal parts to prevent rust.
Store Properly: Keep your firearm in a dry, cool place. Use a gun safe with a dehumidifier if possible.
Avoid Harsh Chemicals: Use cleaning products designed for firearms.
Inspect Often: Check for signs of wear or rust and address them promptly.
By following these tips, you’ll extend the life of your firearm’s finish and keep it in top condition.
Where to Get Professional Help and Supplies
If you’re unsure about any step or want a flawless finish, consider consulting a professional gunsmith. They have the experience and equipment to handle complex restorations safely.
For those in Live Oak and San Antonio, RTF3TX is a trusted gunsmith offering expert services. They specialize in precision work and custom modifications, ensuring your firearm is treated with care and expertise. Plus, with their Type 1 FFL, they provide a wide range of services and an online inventory for your convenience.
If you want to learn more about restoring old firearm finish, their website is a great resource.
Restoring your firearm’s finish is a satisfying project that enhances both appearance and durability. With the right tools, patience, and care, you can bring your firearm back to its former glory and enjoy it for years to come.

Comments